Content
Harp
France, 15th century
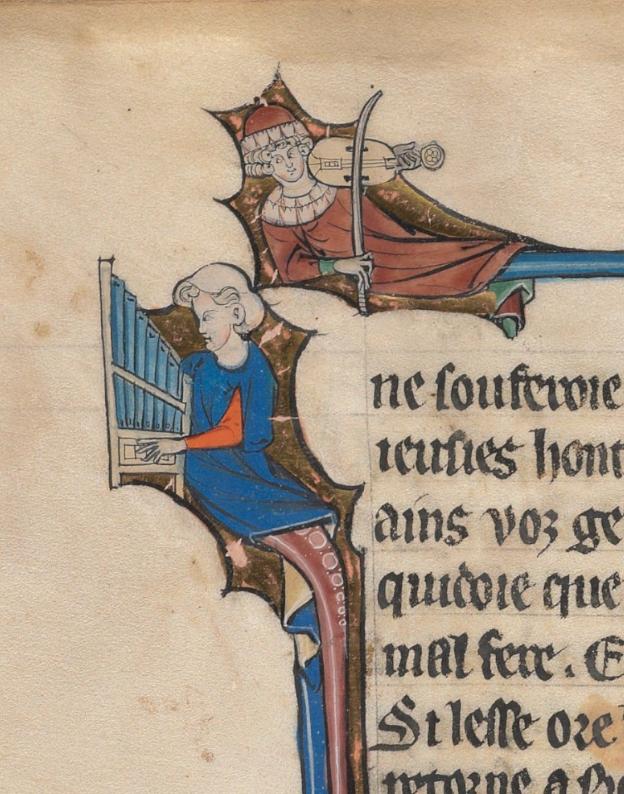 Portative organ & fiddle
France, 13th century
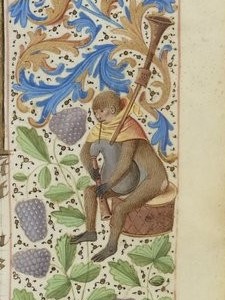 Bagpipes
France, 15th century
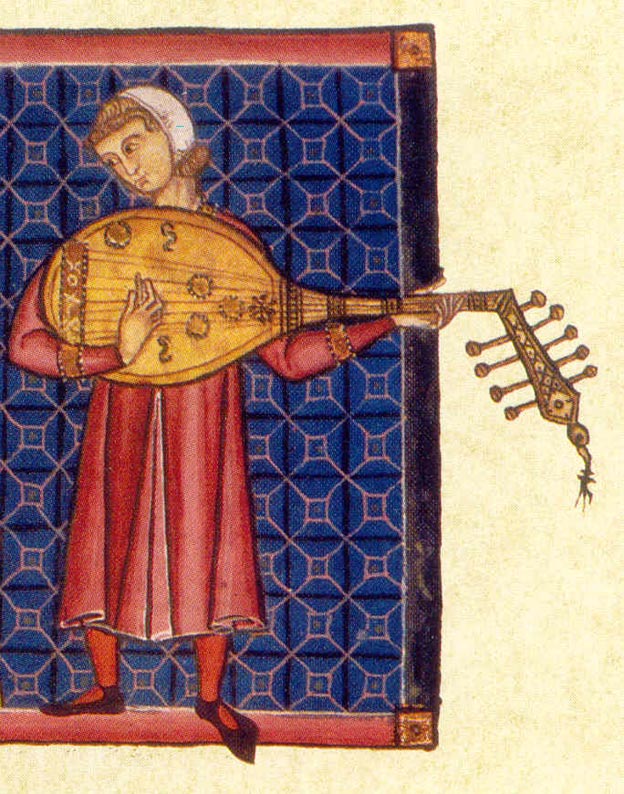 Lute
LuteSpane, 13th century
And here's an example without any text:
This is what the plugin looks like in edit mode (the upper part):
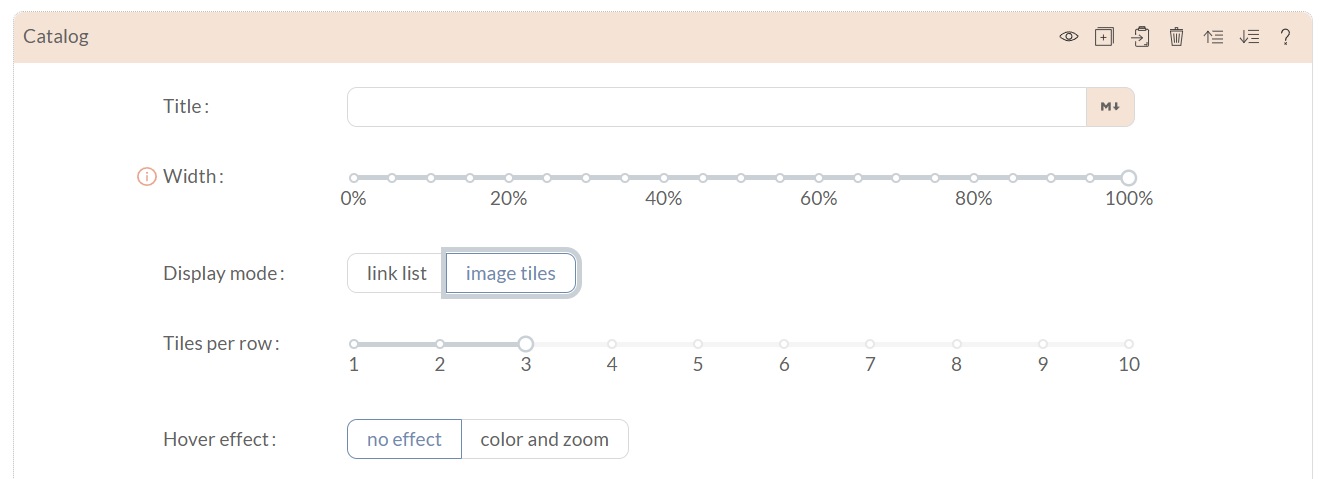
These are your input options:
- Title: The title will appear above the image tiles.
- Display mode: By defining the width of the gallery within the display (10–100 %), you can influence how big the image tiles will appear.
- Tiles per row: Choose the number of images you want to place next to each other. This will also influence the size of the images.
- Hover effect: Scroll down for more on this effect.
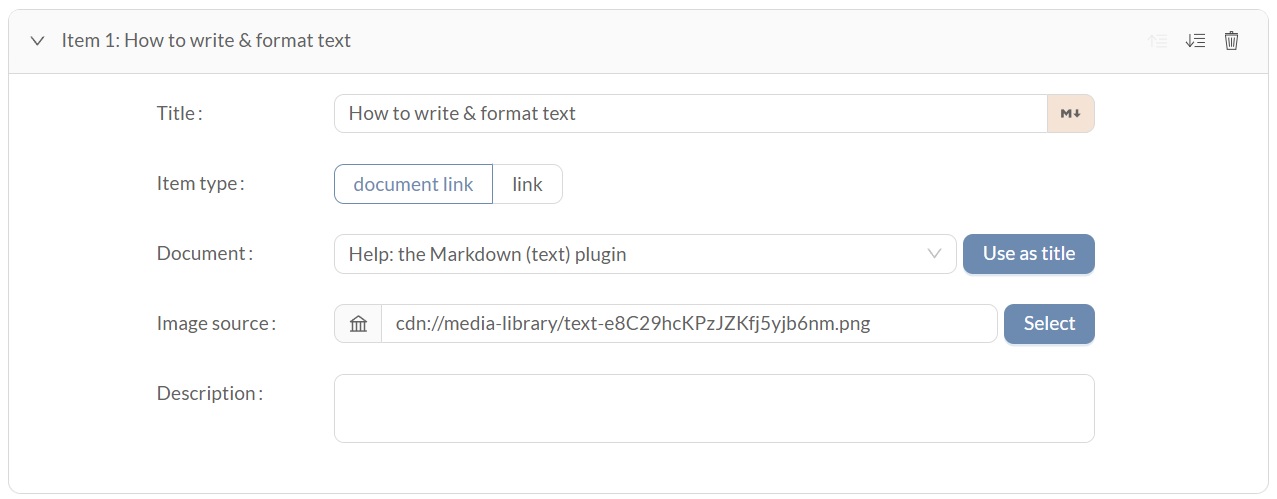
These are the input options for each image:
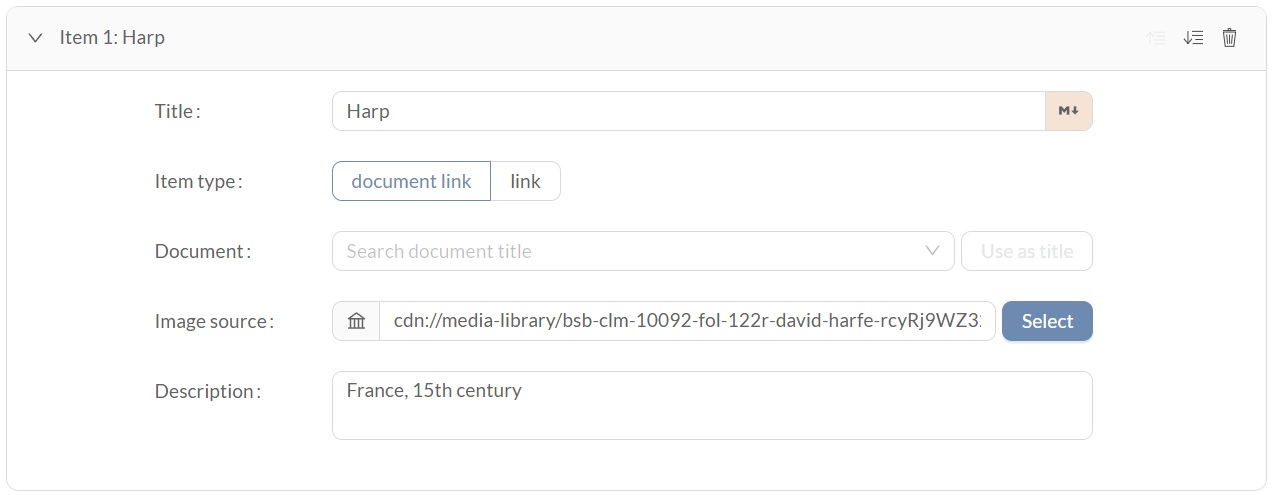
- Title: The title will be shown under the image.
- Item type & Document: This is only relevant if you want the images to function as links to other documents or websites – see below.
- Image source: Here you pick an image or upload one. This is explained in How the image plugin works.
- Description: The description will appear below the image and below the title.
You can change the order of appearance by using the little arrows at the top right of each entry. This is also where you can delete a whole entry.
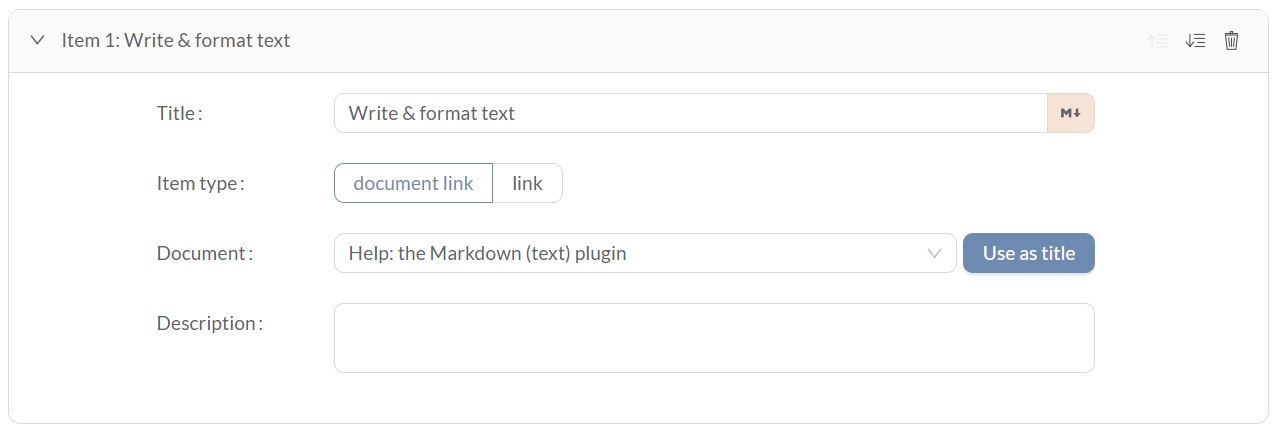
First choose the item type:
- a document link will lead to another OMA page
- a link can be to any website
When linking to another OMA document, you can simply type in the name of that document (or part of the name).
First choose the item type:
- a document link will lead to another OMA page
- a link can be to any website
When linking to another OMA document, you can simply type in the name of that document (or part of the name).
You have the option of adding a description that will clarify where the link leads to.
For example like this:
