
How to use the video plugin
This plugin is your video player on OMA. You can use it to insert videos from different sources (including YouTube) or for uploading one yourself, provided there is a Creative Commons licence attached to it.
The player will look like this:
"Kennst du schon die OMA?" | Trailer for the platform openmusic.academy

Inhalt
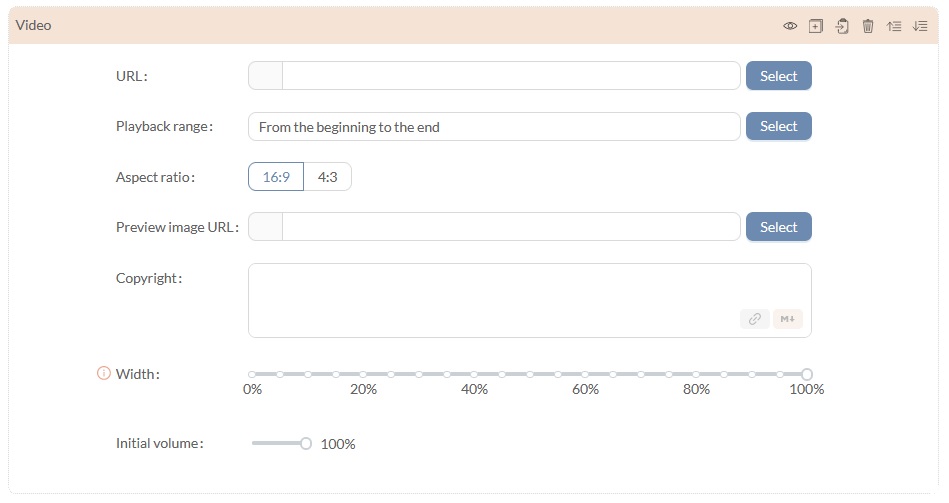
This is what you can enter / choose:
URL: This is where the address of your video goes. Go on Select to pick a file from the OMA media centre or to upload one yourself, or copy and paste the URL of another website's video into the input.
Playback range: Per default, the video will be played from beginning to end. If you want only a certain part, you have the option to choose the start and end time of the playback.
Aspect ratio: Define the format your video will look best in (16:9 or 4:3).
Preview image URL: Optionally you can choose an image that will be shown before the video is started.
Copyright: It is important to make note of the author(s) and/or the source of the file here.
Width: Define the width of the video player in relation to the width of the whole display.
Initial volume: If the audio seems generally to loud, you can tone it down here.
Then check out the plugins Media analysis and Interactive media.
How it works in detail
Insert a video via link, e.g. from YouTube (URL)
If you have the URL of the video already at hand, you can paste it directly to the URL input field. For YouTube videos, copy the URL from the address bar of your browser or click share and copy link below the video. The video URL will automatically be shown in the copyright field.
For example, the following link and information...
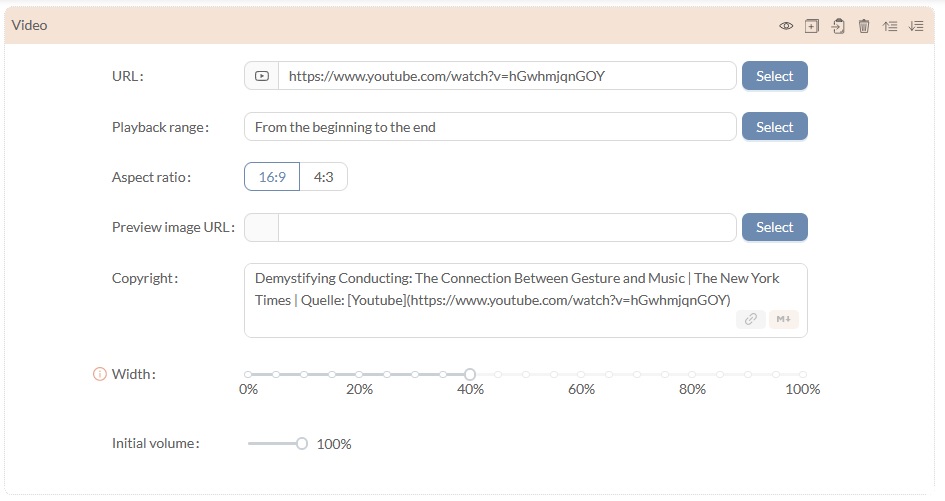
... will turn into the following player:
Demystifying Conducting: The Connection Between Gesture and Music | The New York Times | Quelle: Youtube
A dialogue will open. At the top, you'll find the tabs Media centre (this is OMA's storage) and Wikimedia. In both, you can search by typing in tags, and you'll have the option to narrow it down to audio files.

If you're uploading a file while working on a public document, your file will automatically go to the public media center. Please only add files that have a creative commons licence or that you can attach such a licence to yourself.
In the uploading process, the following information will be asked from you:
- Short description (optional): Indicate what the file contains.
- Languages (optional): It may be useful to specify what languages are used if, for example, there is audio description.
- Licences: Specify the licence of the file. (CC0 is equal to the Public Domain. The licence for OMA documents is CC BY-SA: Attribution-ShareAlike.)
- Tags: Insert keywords that will allow users to find the file.
Upload a file to a private room (URL)
When creating a document in a room, you can pick files from the media center or from other websites just as in public documents. Additionally, you can upload files to a room that only room members will be able to see. When you click Select in your plugin, you'll find a third tab for Room media. This is where your files will be stored.
Once you want to publish documents that were private so far (= duplicate in the public area), you'll have to upload these files once more. This may seem cumbersome but will protect you from accidentally publishing material that is protected by copyright.
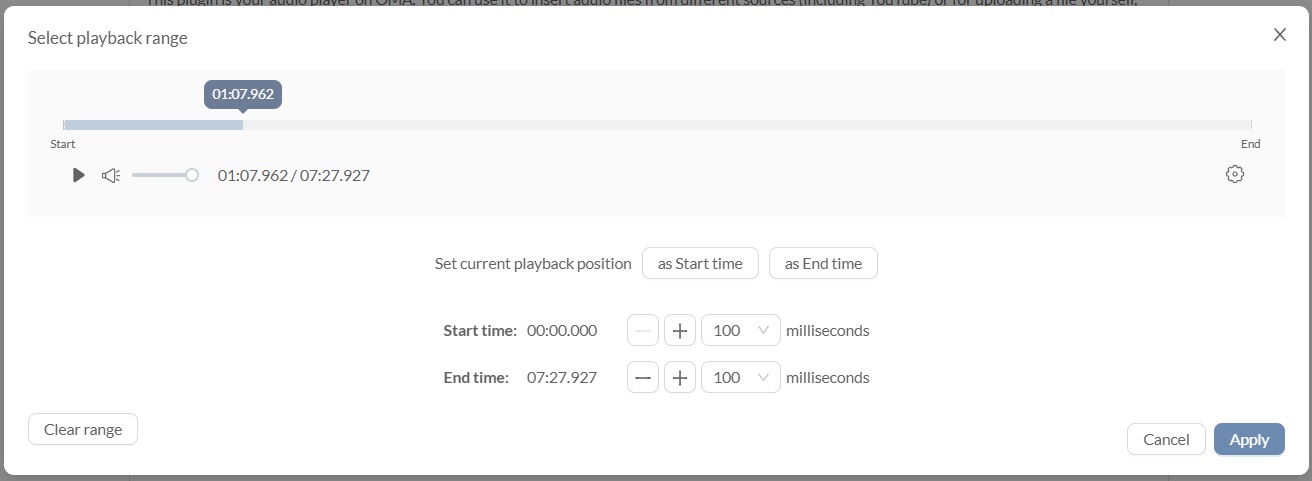
Pick a position on your timeline
- via playing the track and hitting pause at right time
- or by clicking directly onto the timeline.
You can define this position as Start time or as End time. For fine tuning, use the minus and plus buttons to move the position by 100 or 500 milliseconds.