Content
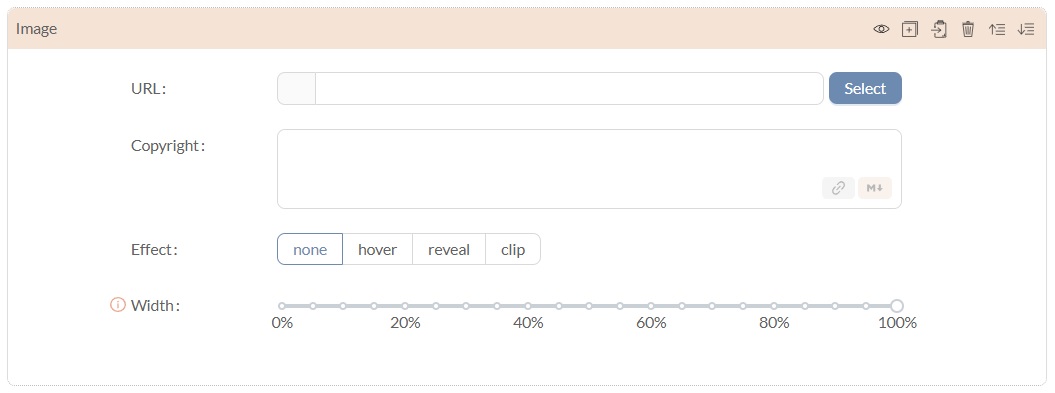
This is what you can enter / choose:
URL: This is where the image address goes. Go on Select to pick an image from the OMA media library or upload one yourself, or copy and paste the URL of another website's image.
Copyright: It is important to make note of the author(s) and/or the source of the image. here.
Effect: Choose from the available image effects or clip your image.
Width: Define the width of your image box in relation to the width of the whole display.
After you've hit Select, you'll see the media browser. On the top left, choose between Media library (this is OMA's storage) and Wikimedia. In both, you can search using tags. There is the option to search for images only.

Upload an image to the public area (URL)
In order to upload a file, click the Select button next to the URL input field. If you're doing this while working on a public document, your file will automatically go to the public media library. Please only add images that have a creative commons licence or that you can attach such a licence to yourself.
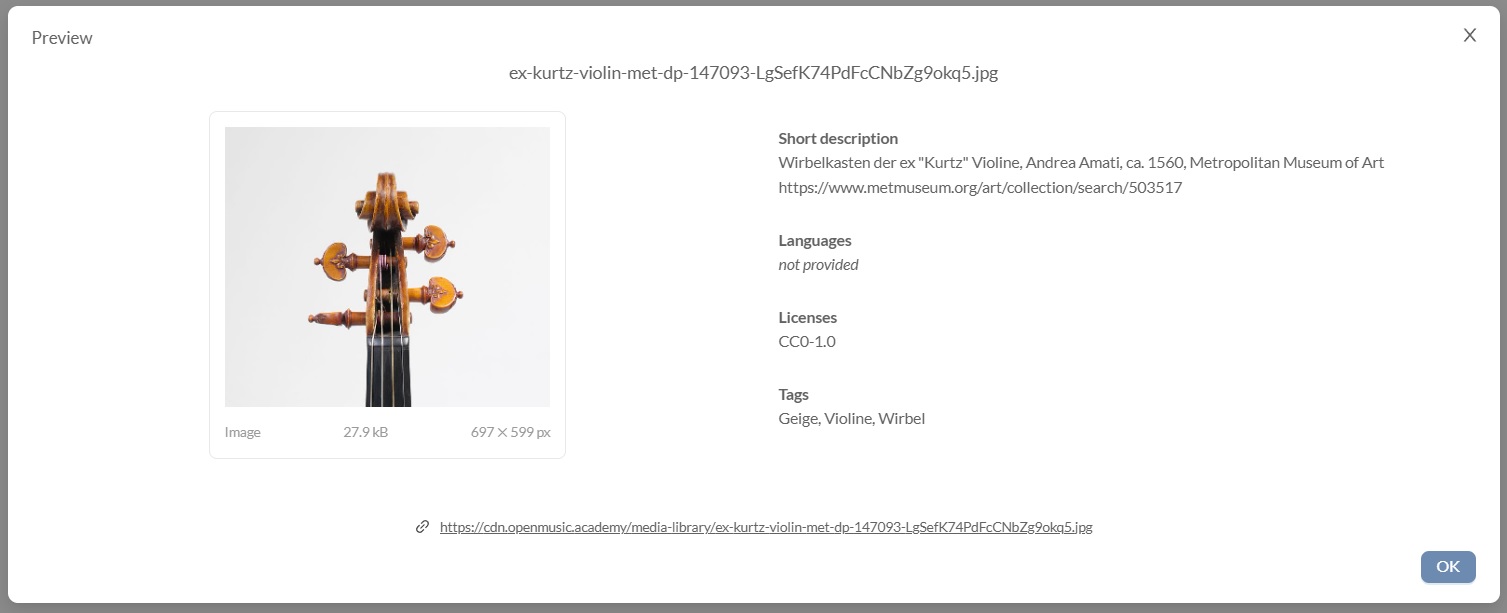
In the uploading process, the following information will be asked from you:
- Short description (optional): Indicate what the image shows.
- Languages (optional): It may be useful to specify what languages are used if the image has writing in it.
- Licences: Specify the licence of the file. (CC0 is equal to the Public Domain. The licence for OMA documents is CC BY-SA: Attribution-ShareAlike.)
- Tags: Insert keywords that will allow users to find the image.
Upload an image to a privat room (URL)
In private rooms you can upload images to or choose one from the media library or link to images on other websites just like you can do in the public area.
Additionally, you can upload files to a room that only room members will be able to see.
When clicking the Select button in you image plugin, you'll find a third tab: room media. This is where files that you upload will be stored.
Once you decide to transfer a document from a room to the public area ("duplicate document"), you'll have to upload files again to the public media library. This may seem cumbersome but will protect you from accidentally publishing images that are protected by copyright.

This is an external image that OMA simply links to.
Caravaggio, The Lute Player, ca. 1596 | NY, Met Museum
Source: Wikimedia Commons | Licence: Public Domain
Link to an external image (URL)
If you've found an image on another website, for example on Wikimedia Commons, you can link to it by copying the image address with a right-click and pasting it into the URL input.
This allows you to include images protected by copyright in your documents. These images will not be copied but referenced (via deeplink).
Please remember to give information in the copyright input field!
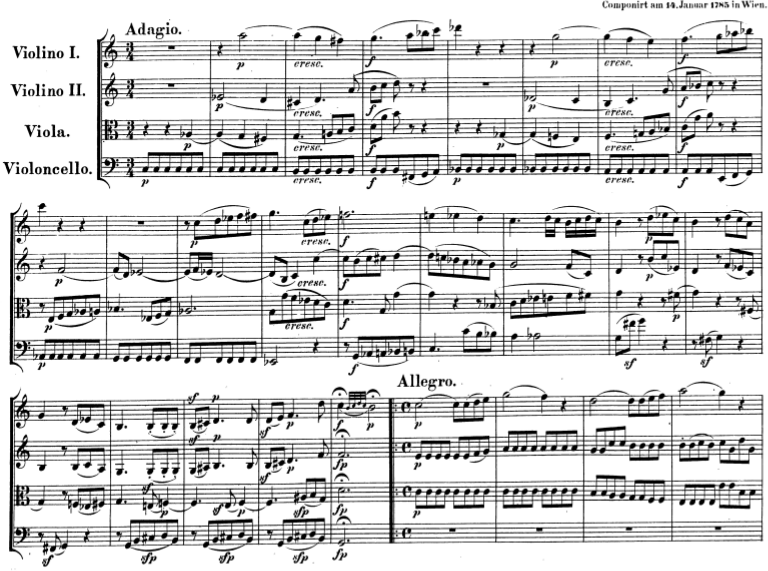
W. A. Mozart, String Quartet No. 19, KV 465
Move your cursor unto this image....
W. A. Mozart, String Quartet No. 19, KV 465
Please move the slider.
Effect "clip"
The clipping effect allows you to choose a detail from your image. Only the defined section will be shown. Once you've selected the effect, you'll be able to indicate the section: Move the corner points or draw up a rectangle by while holding down the left mouse key.
You will not actually clip the image, so you can always change the selected part.
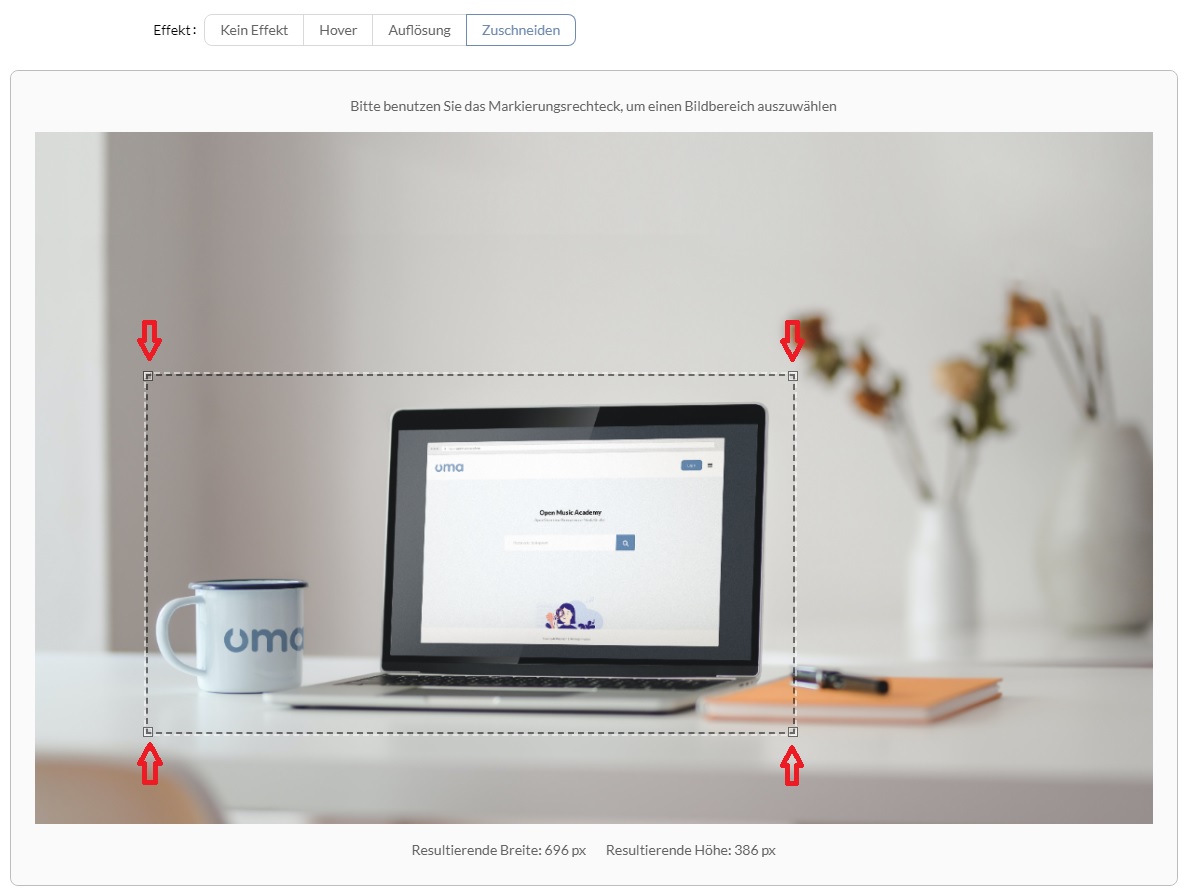
The selected area...
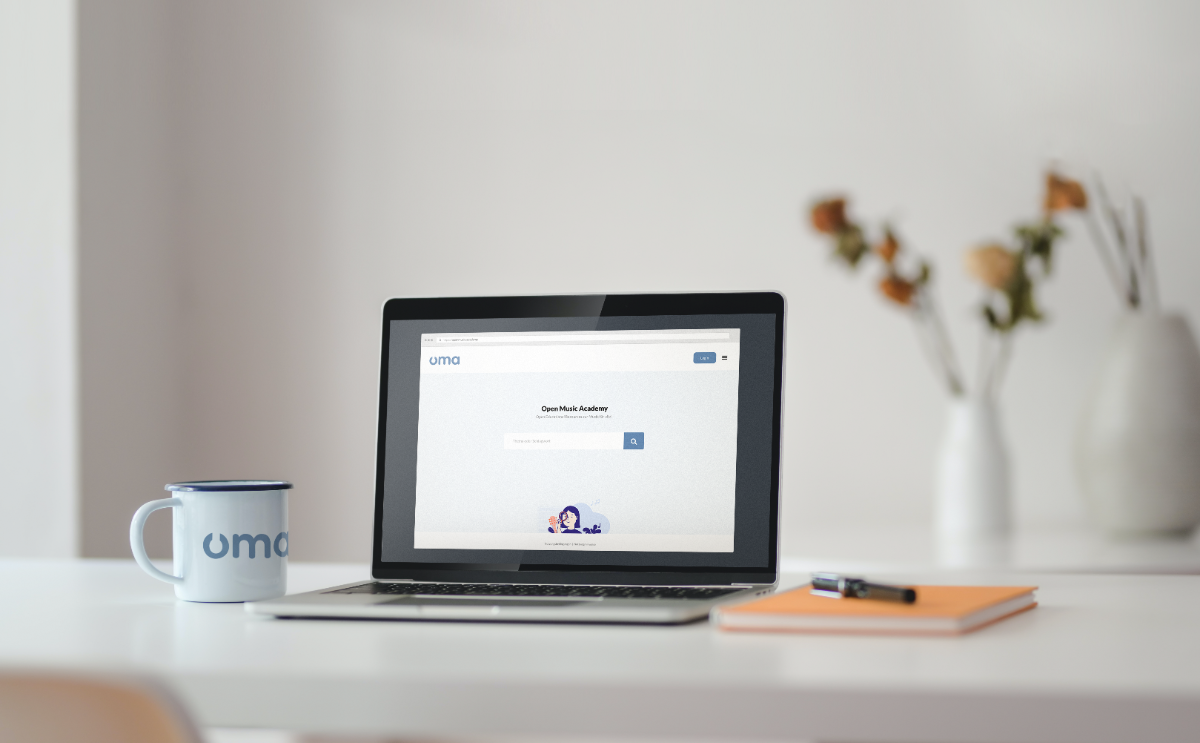
... will be shown like this.